


The next stage of the build for the module was to add zip texturing for the finally ground cover. This method has been around for quite awhile, I picked it up from Joe Fugate's "Siskiyou Lines" DVD series.

The scenery base mix (ground goop) which is also in Joe's DVD series is a combination of portland cement, patching plaster, and fine vermiculite, this is added to the masking tape and cardboard scenery base.
The zip texturing which was pioneered by Linn Wescott in the 60's and is virtually the same method as the scenery base mix. It is a combination of the same patching plaster (which needs to thoroughly sifted first) and powdered tempera paint mix in combinations to get you final ground texture colour.

The tan colour above is a combination of:
24 Parts Plaster (again sifted through a fine sieve)
1 Part Black Tempera Powder Paint
1 Part Brown Tempera Powder Paint
1 Part Yellow Tempera Powder Paint
The Tempera Powder Paint that I use is sourced here in Australia, I have got all the colours to form most natural ground colours and the amount is more than enough for the entire layout.

The method for applying the zip texturing is very easy, firstly you wet down the dried "ground goop" plaster mix and then with a fine sieve you apply the layers of zip texturing. Make sure that you don't over do the layer thickness and mist down each application after applying it.

The whole process goes rather quickly and its at this stage that the layout really starts to take shape and look like the real thing.

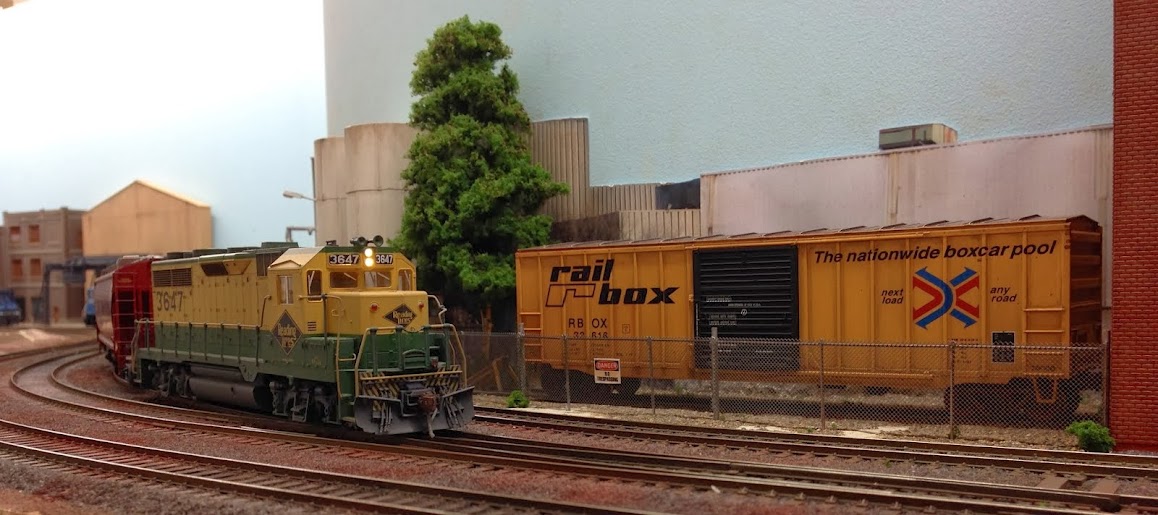
As can be seen the combination of ballast, zip texturing and some actually terrain really takes the module to the next level.
The next stage: Painting Roads & Sidewalks - Weathering...
No comments:
Post a Comment