Favourite Photos...

Favourite Photos...
Reading Lines GP35 #3647

Middletown, Pa

Tuesday 28 February 2017

Re-wiring for Power Districts...

Over the past week I have been back under the layout working on wiring yet again...  Urrgghh!

This time around it was because I was moving towards setting up power districts that were being protected by DCC Specialties PSX1's.

Over the past couple of operating sessions we had noticed that Rutherford Yard was dropping out the remainder of the layout when a short occurred.  I already had two PSX1's installed along with two PSX-AR (auto reversers).

The first set was to completely replace the main buss, this had been altered quite a few times and was not consistently sized along the whole layout.  I replaced it with 10 awg (2.5mm) house flex with sub busses being 14 awg (1.5mm) and the feeders still the same 18 awg (1mm) solid core.

The replacement went relatively easy, and with a little attention to neatness and pulling out quite a few feet of unneeded wire I ended up with 5 main buss runs.


I've made Rutherford Yard, Rutherford Workshops and the centre peninsula separate buss runs.

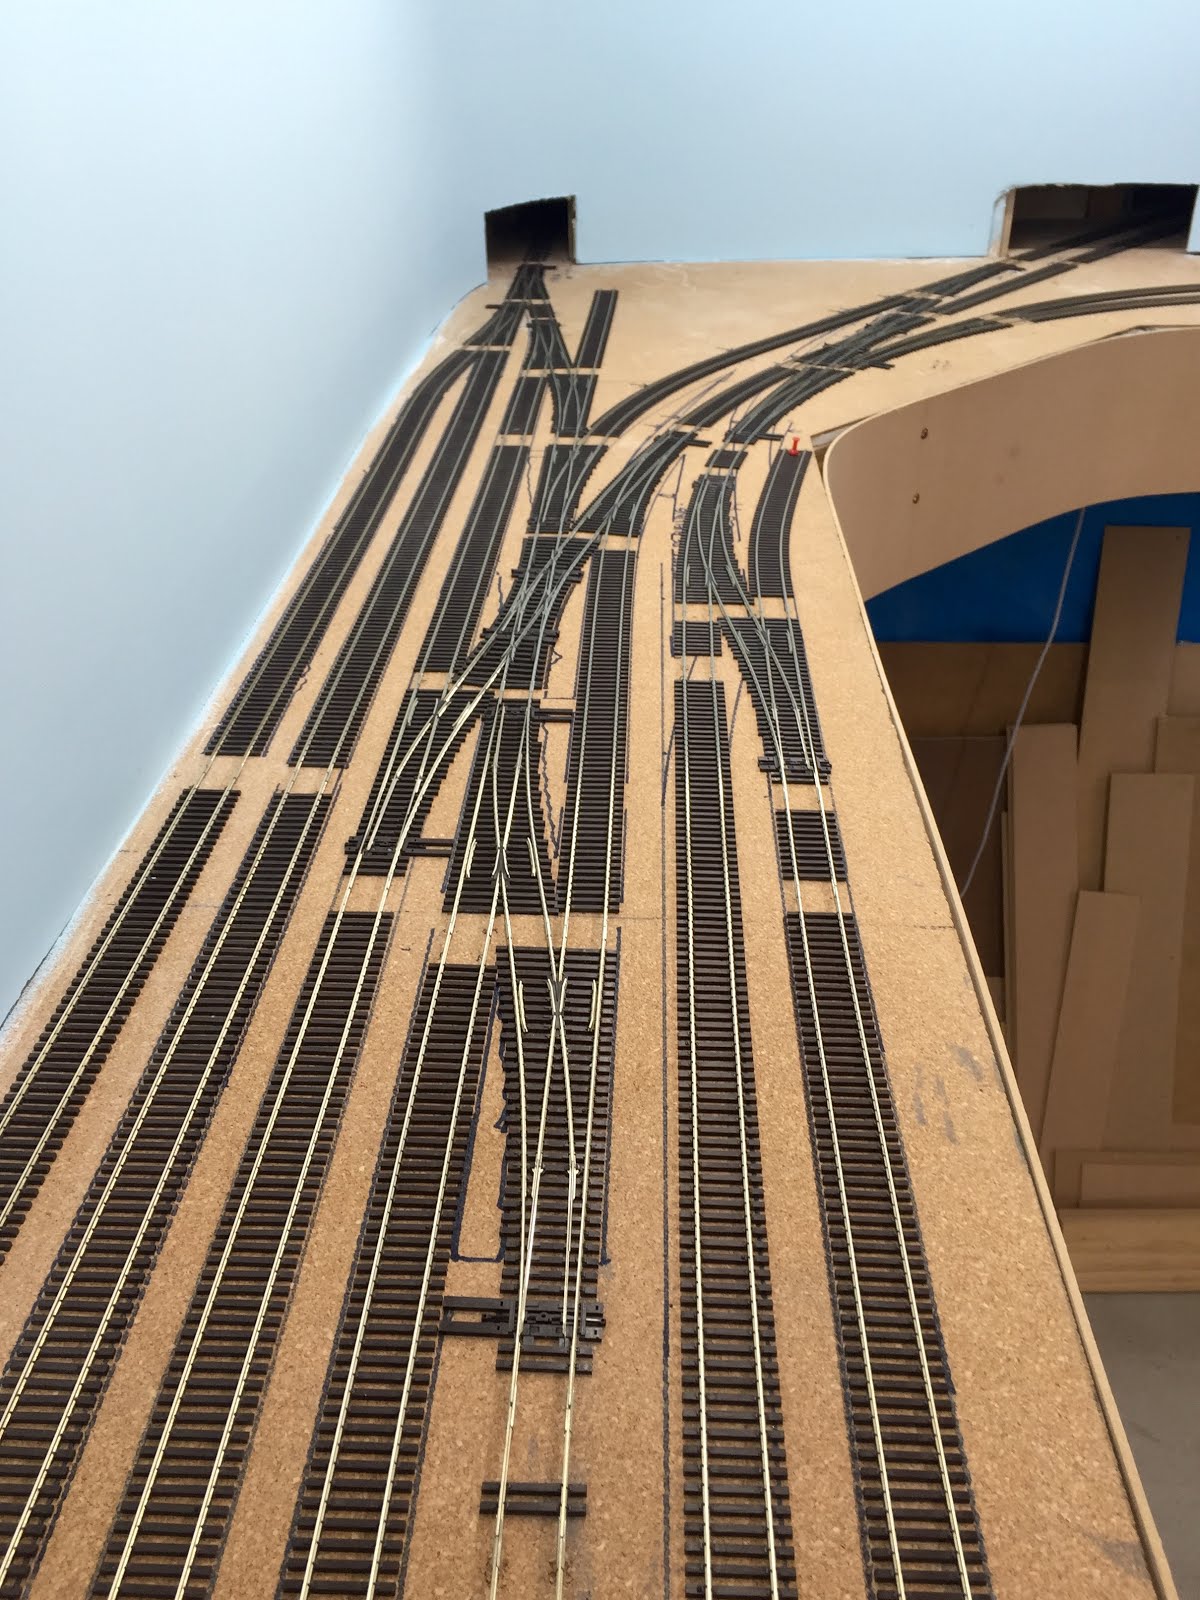
The next stage was installing the remaining PSX1's and the two packets of isolated rail joiners.  I had a few sneak paths on the common return so had to track these down to ensure each power district was isolated.

Each BDL168 is fed from a PSX1 to ensure all the detected as well as non-detected track work is protected.  You can see the wiring block to the right of the PSX1, this feeds the BDL below and the remaining undetected blocks for the Pulp & Paper Mill.  The PSX below has the main buss feeding through the board (two pair of wires on the left) via the four pin block.


The remaining install went well and I managed to neaten up a fair portion of the layouts wiring too, the remaining PSX-AR (auto-reversers) didn't require any further work and have been working perfectly since installed over two years ago...


Jas...

Wednesday 22 February 2017

New Fascia Control Panels...

So this evening has been spent redesigning the layouts fascia control panels.  The previous design was down in Microsoft Excel to try and use the cells as a guide to get the panels the same and I'm quite proficient with doing neat little tricks with it too.

But there was a snag...  Somewhere between swapping computers and different versions the panels wouldn't print the same and I was getting artefacts when I cut & paste the same pieces when I printed.

I also needed to do them again as the track work and signals have changed since version one.  So this time I have used a program called Pixelmator, its a iMac based drawing software like Photoshop.  Very easy to use and has some great features that make doing duplicates very easy and quick.

So tonight I redesigned the Harrisburg Fascia Panel to match the new track work around the Steel Mill/Furnace and the changes made to the signals as well.  It can be difficult to get the 3D layout track work to fit and match on a 2D fascia Panel.

The below photo is the area represented on the first Harrisburg Fascia Panel...


One other issue is leaving enough room to be able to place the push buttons for the Tortoise motors too.  This often requires some tweaking of the track design to allow them all to fit.

The picture below is the first draft of the new fascia panel for Harrisburg...


I've tried to simplify the design too, gone are the dots on the end of the tracks to represent the end of a track or siding, the arrows on sidings showing the continuation, and the triple railroad heralds.  I've made the decision to plant the layout and theme more into the Reading era rather than Reading/Conrail merger era.  Hence the single Reading Herald now.

After our last ops session I also decided to change the colour of the main so that it is easier for operators to pick it up while operating the Tortoise push buttons.

So far I'm happy with the redesign and the simplified new look, next stage is to make another ten (10) new fascia panel inserts...

Jas.

Sunday 12 February 2017

The Reading Herald...

Nothing special just the Reading Herald that started it all seven years ago...

For those that don't realise the word Reading is actually pronounced "Redding", I had it wrong for awhile until someone picked it up on a YouTube video.


Jas...

Saturday 11 February 2017

Designing the Rutherford Yard - Fascia Panel...

A few hours today has been spent designing the Rutherford Yard - Fascia Panel.

This is required as I need to control three of the rear (south) yard leads with Tortoise motors.  These are show as the larger circles, these will be the same "normally open" push buttons as used around the remainder of the layout.

This panel will also help yard masters & crews know which tracks are which.


The hardest part is getting the trackwork to translate from bench work into schematic.  


So far I'm happy with the design...

Jas.

Friday 10 February 2017

Rutherford Yard & Workshops Backdrops Finished...

Today I finished the backdrops for the Rutherford Yard & Workshops area.  This was the last section of backdrop to be completed for the entire layout.

The process takes about four solid days to complete.  The mudding of the joins and the sanding is the most time consuming and messy.


Once the sanding of the joins is finished I paint a coat of sealer.


The final stage was two coats of the sky colour that I have used on the rest of the layout.


This is another major milestone completed as the layout moves towards completion...

Jas.

Thursday 2 February 2017

Last of the Plaster/Drywall Backdrops...

The last two days has been spent installing the last of the plaster/drywall backdrops in the Rutherford Yard & Rutherford Workshop areas for the layout.

The product is a 1/4" (6mm) flexible plaster board that can be bent/curved and is perfect for using as backdrops.  To date the original section of the layouts backdrops have not one crack in any of the joins.


The trick to getting perfect joins that don't crack is to back block every one.  The process is fairly straight forward and the only consideration needed is when requiring a hole to be made for trains to pass through you need to add a backing board (usually 1/8"-3mm) made of MDF.

This stops the plaster/drywall from splitting due to the force in the curved section.


Next stage is to mud up the joins with fibre glass tape, one thin coat then dry, followed by a single top coat and dry again with final sand.  Then paint sealer and two coats of the final colour.

Jas...