Favourite Photos...

Favourite Photos...
Reading Lines GP35 #3647

Middletown, Pa

Wednesday, 24 February 2021

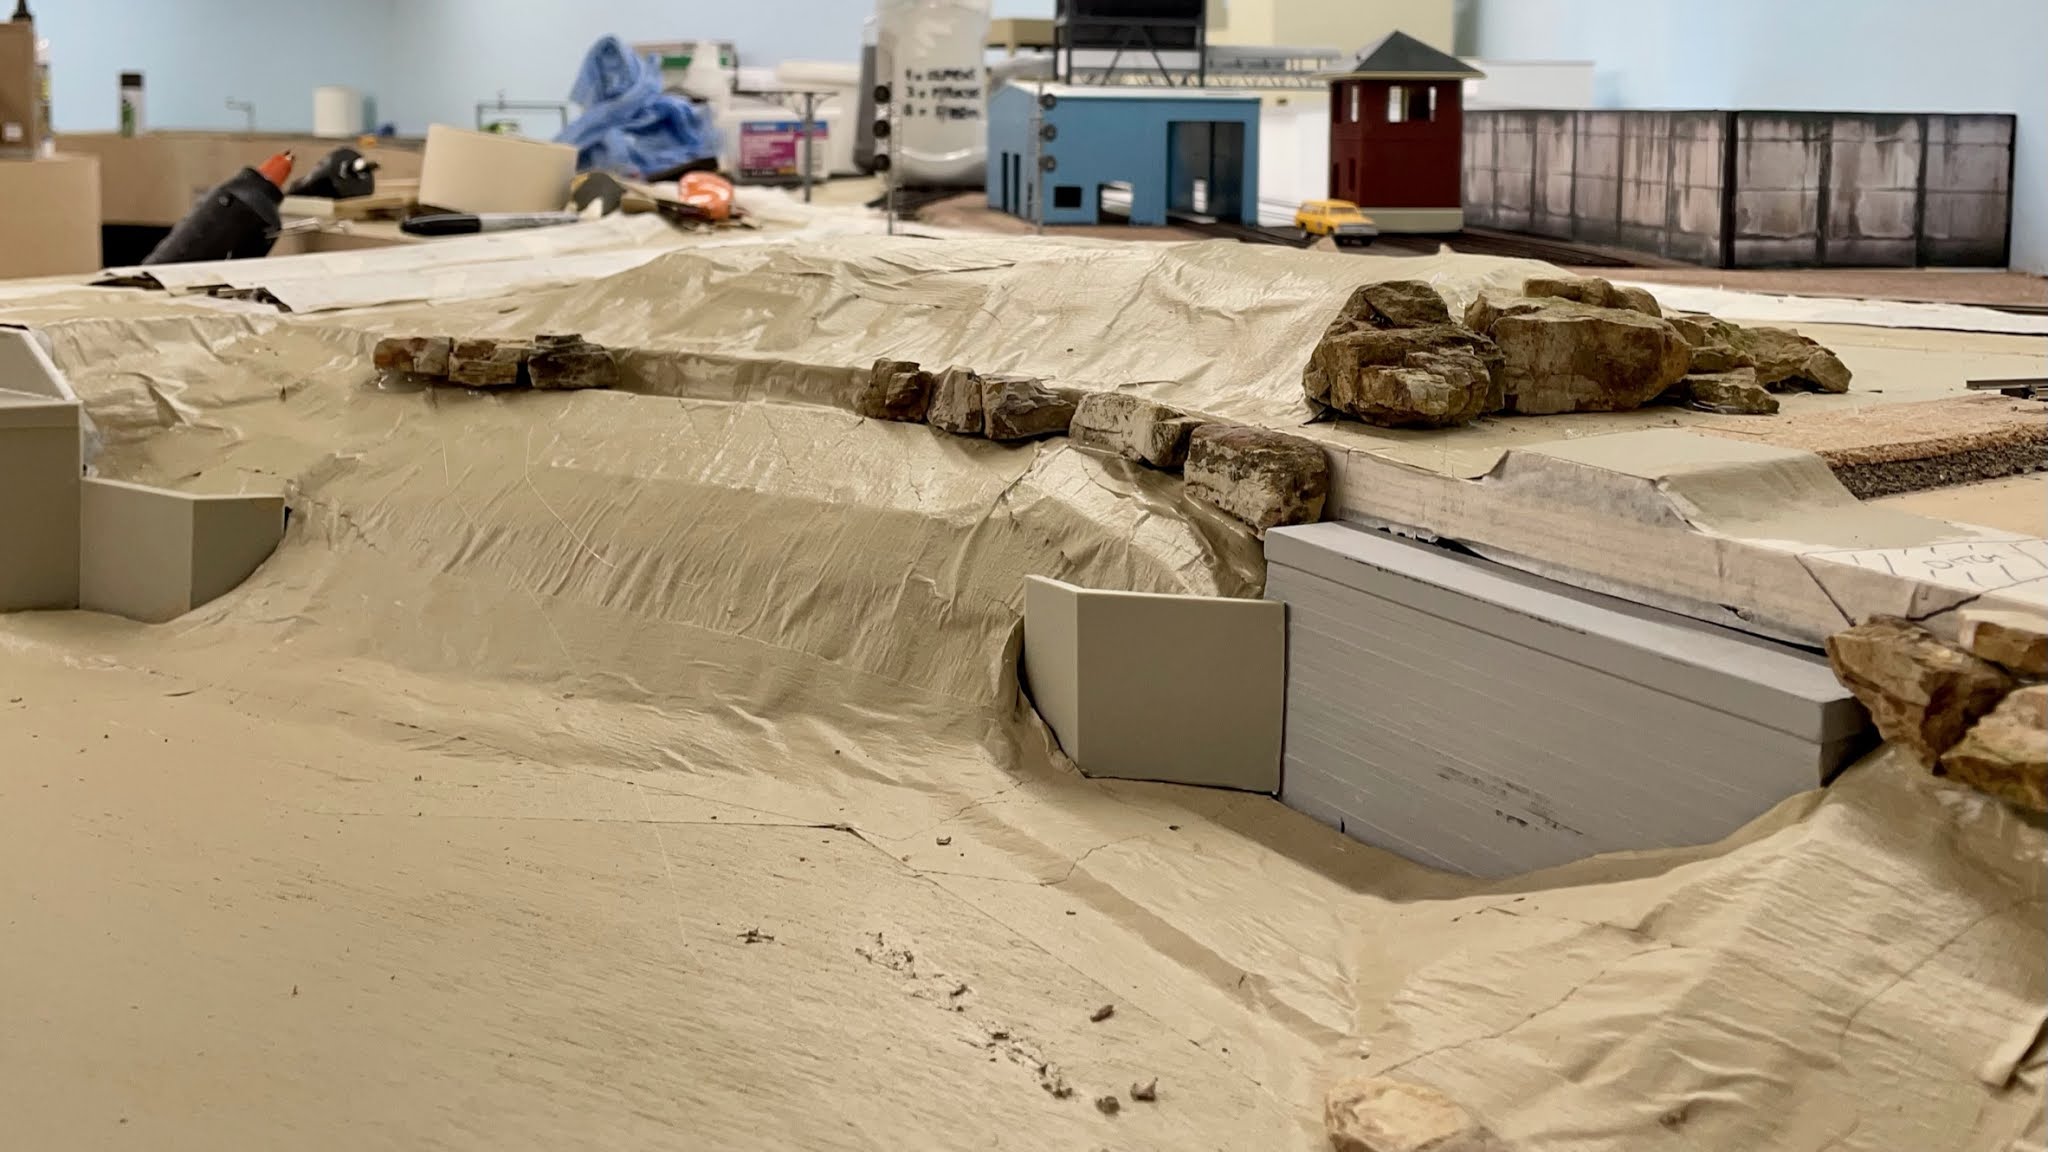
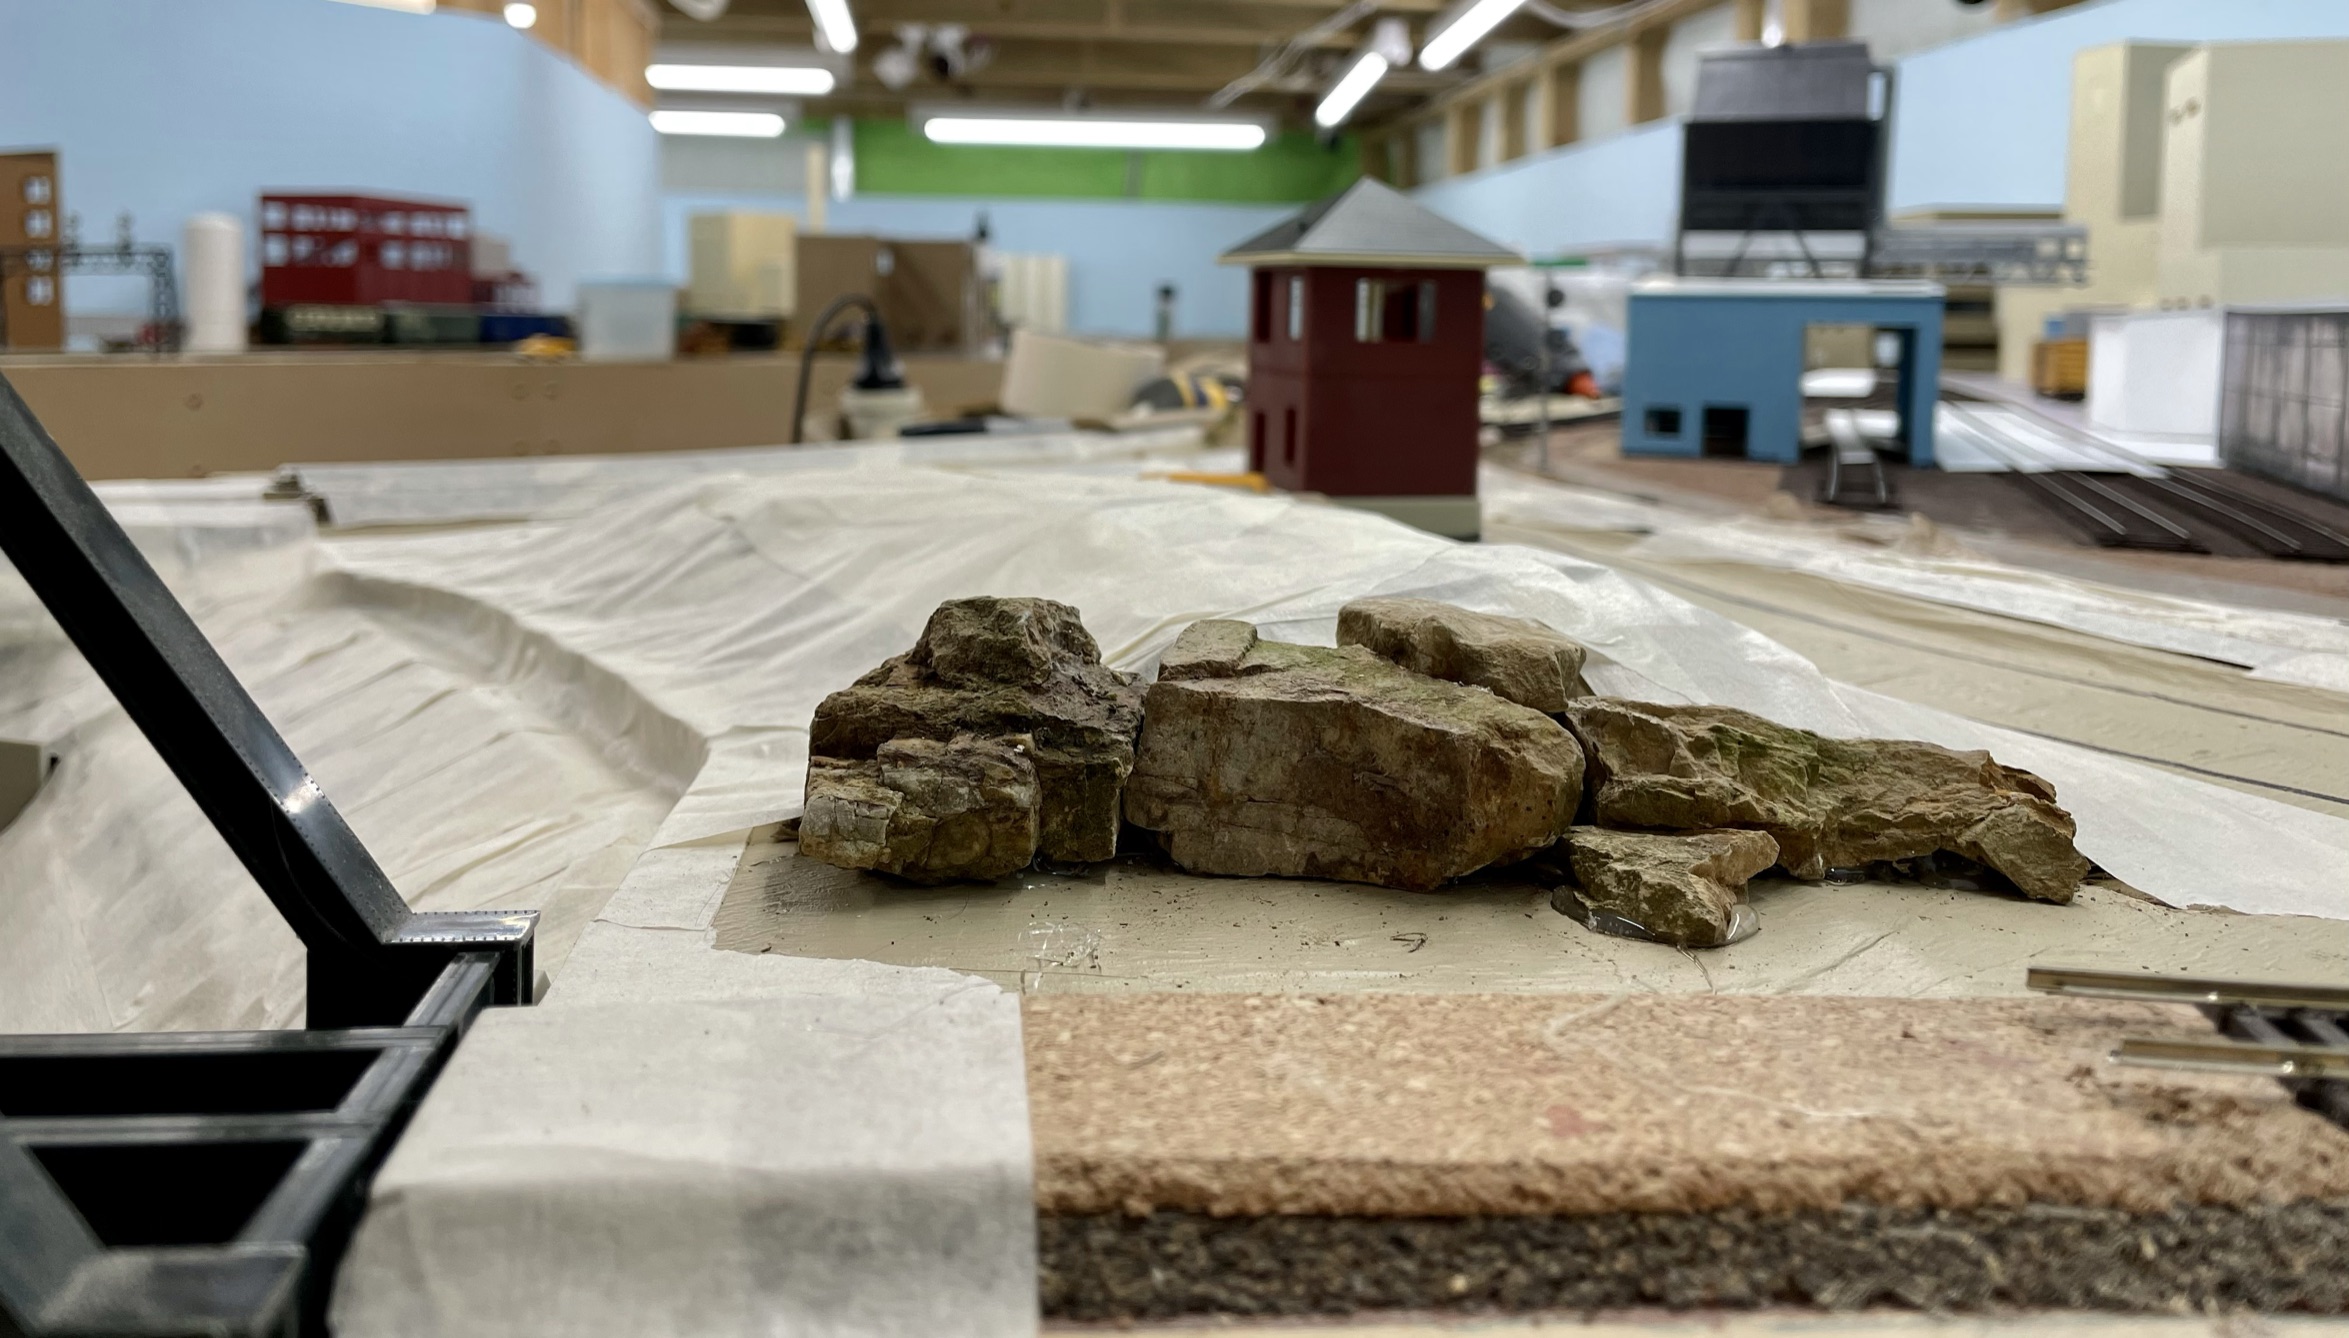
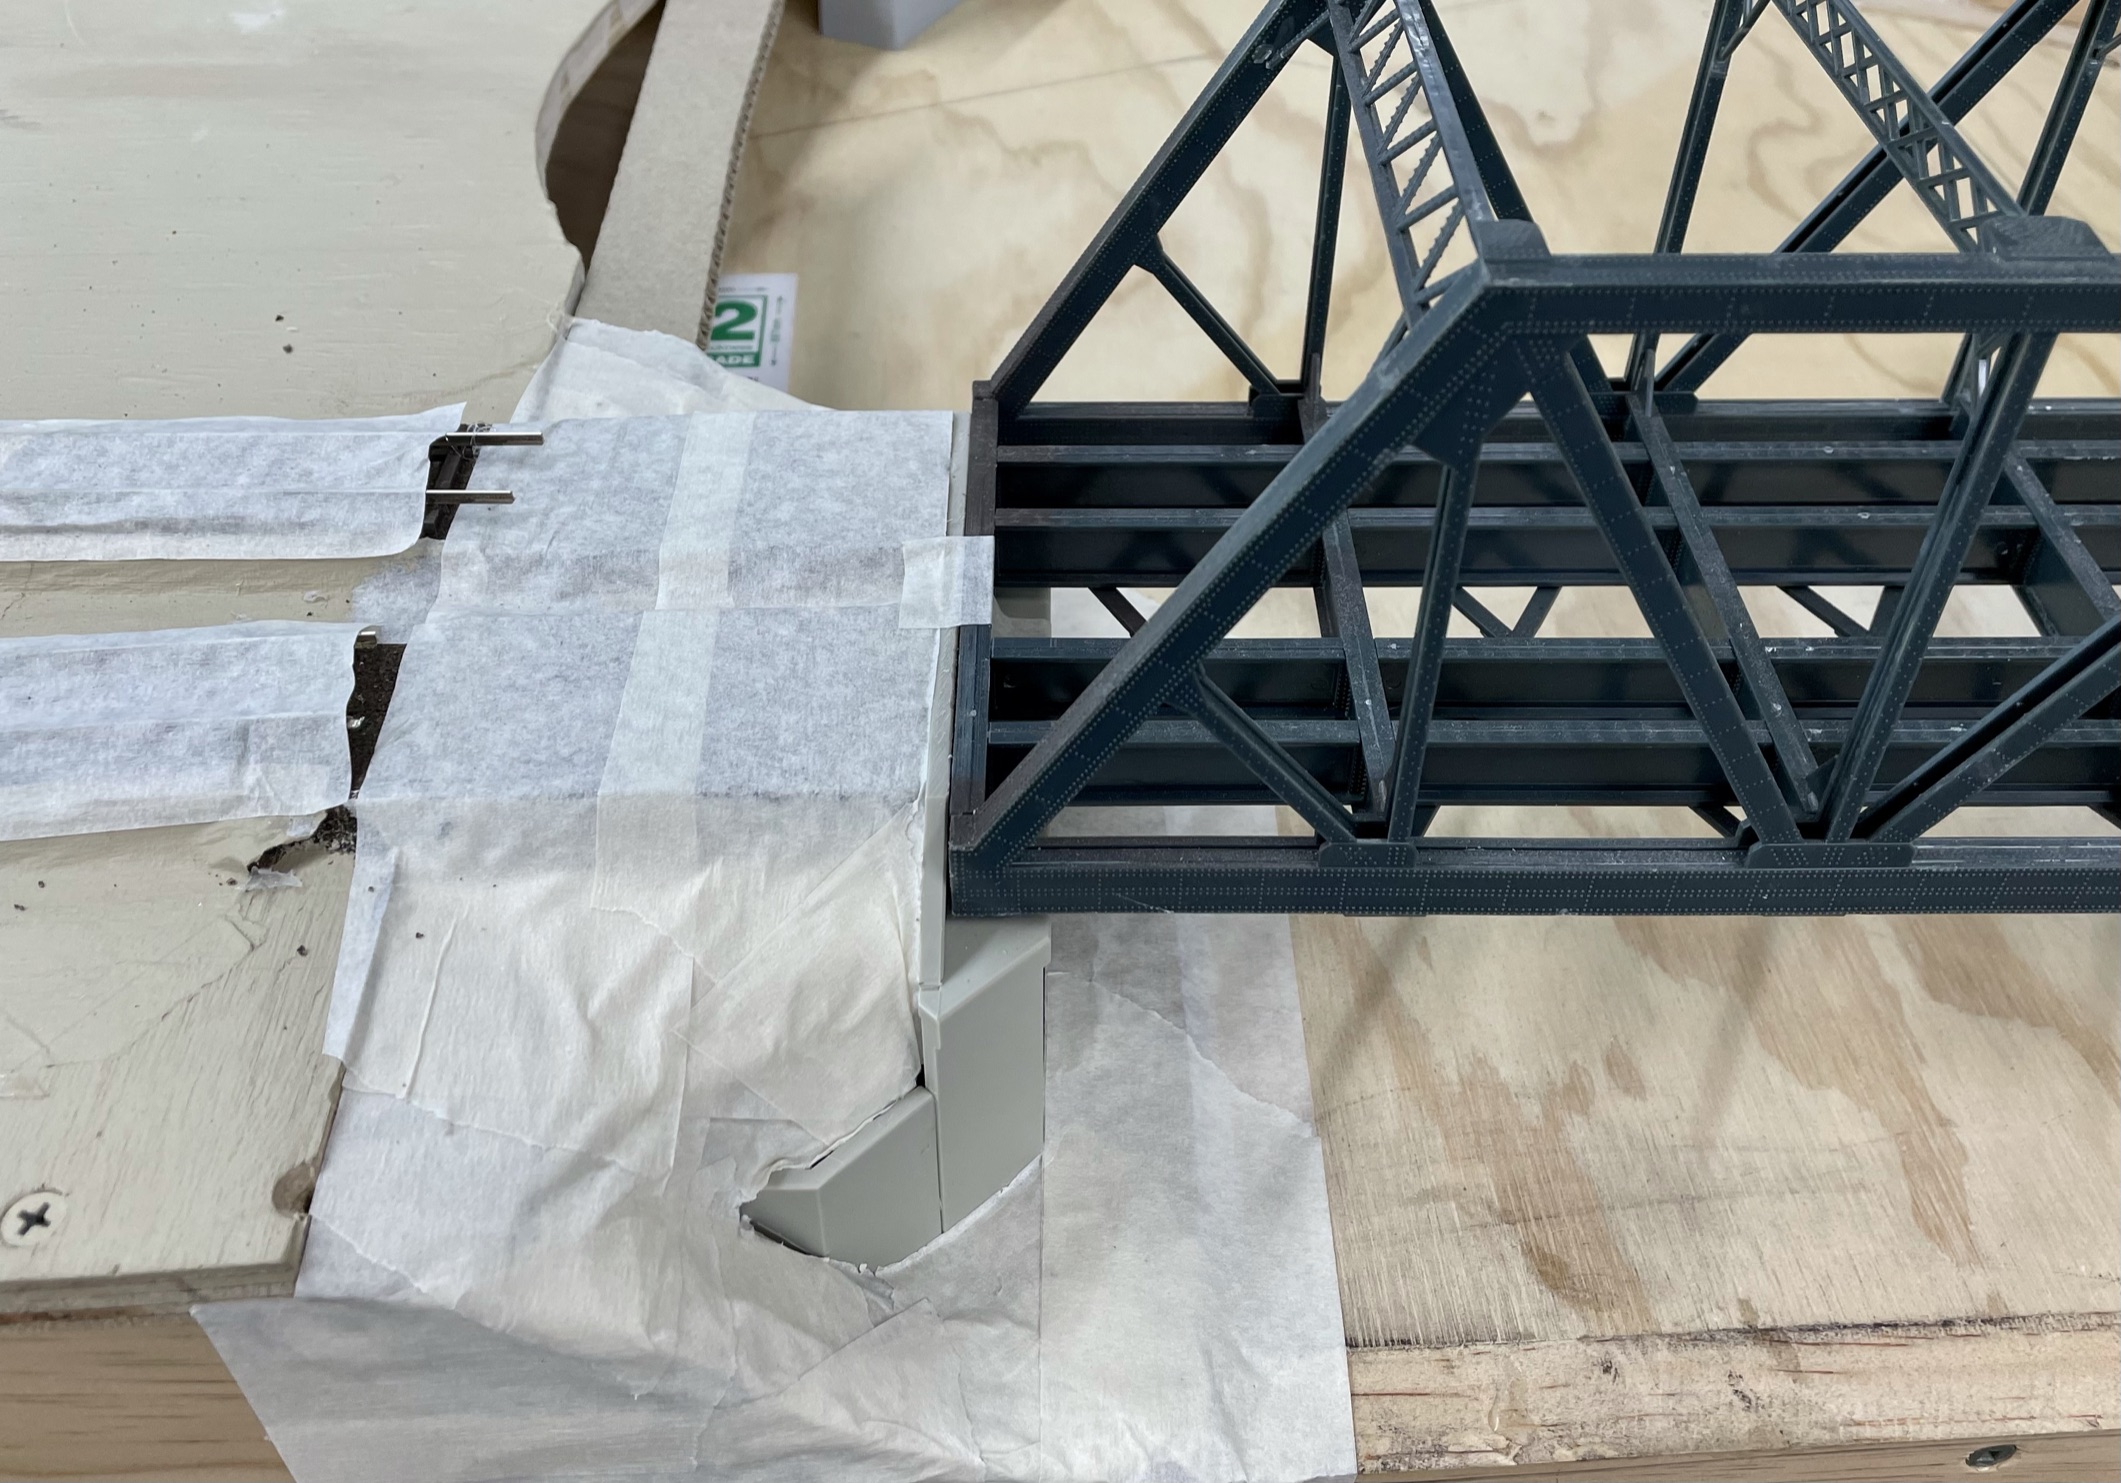
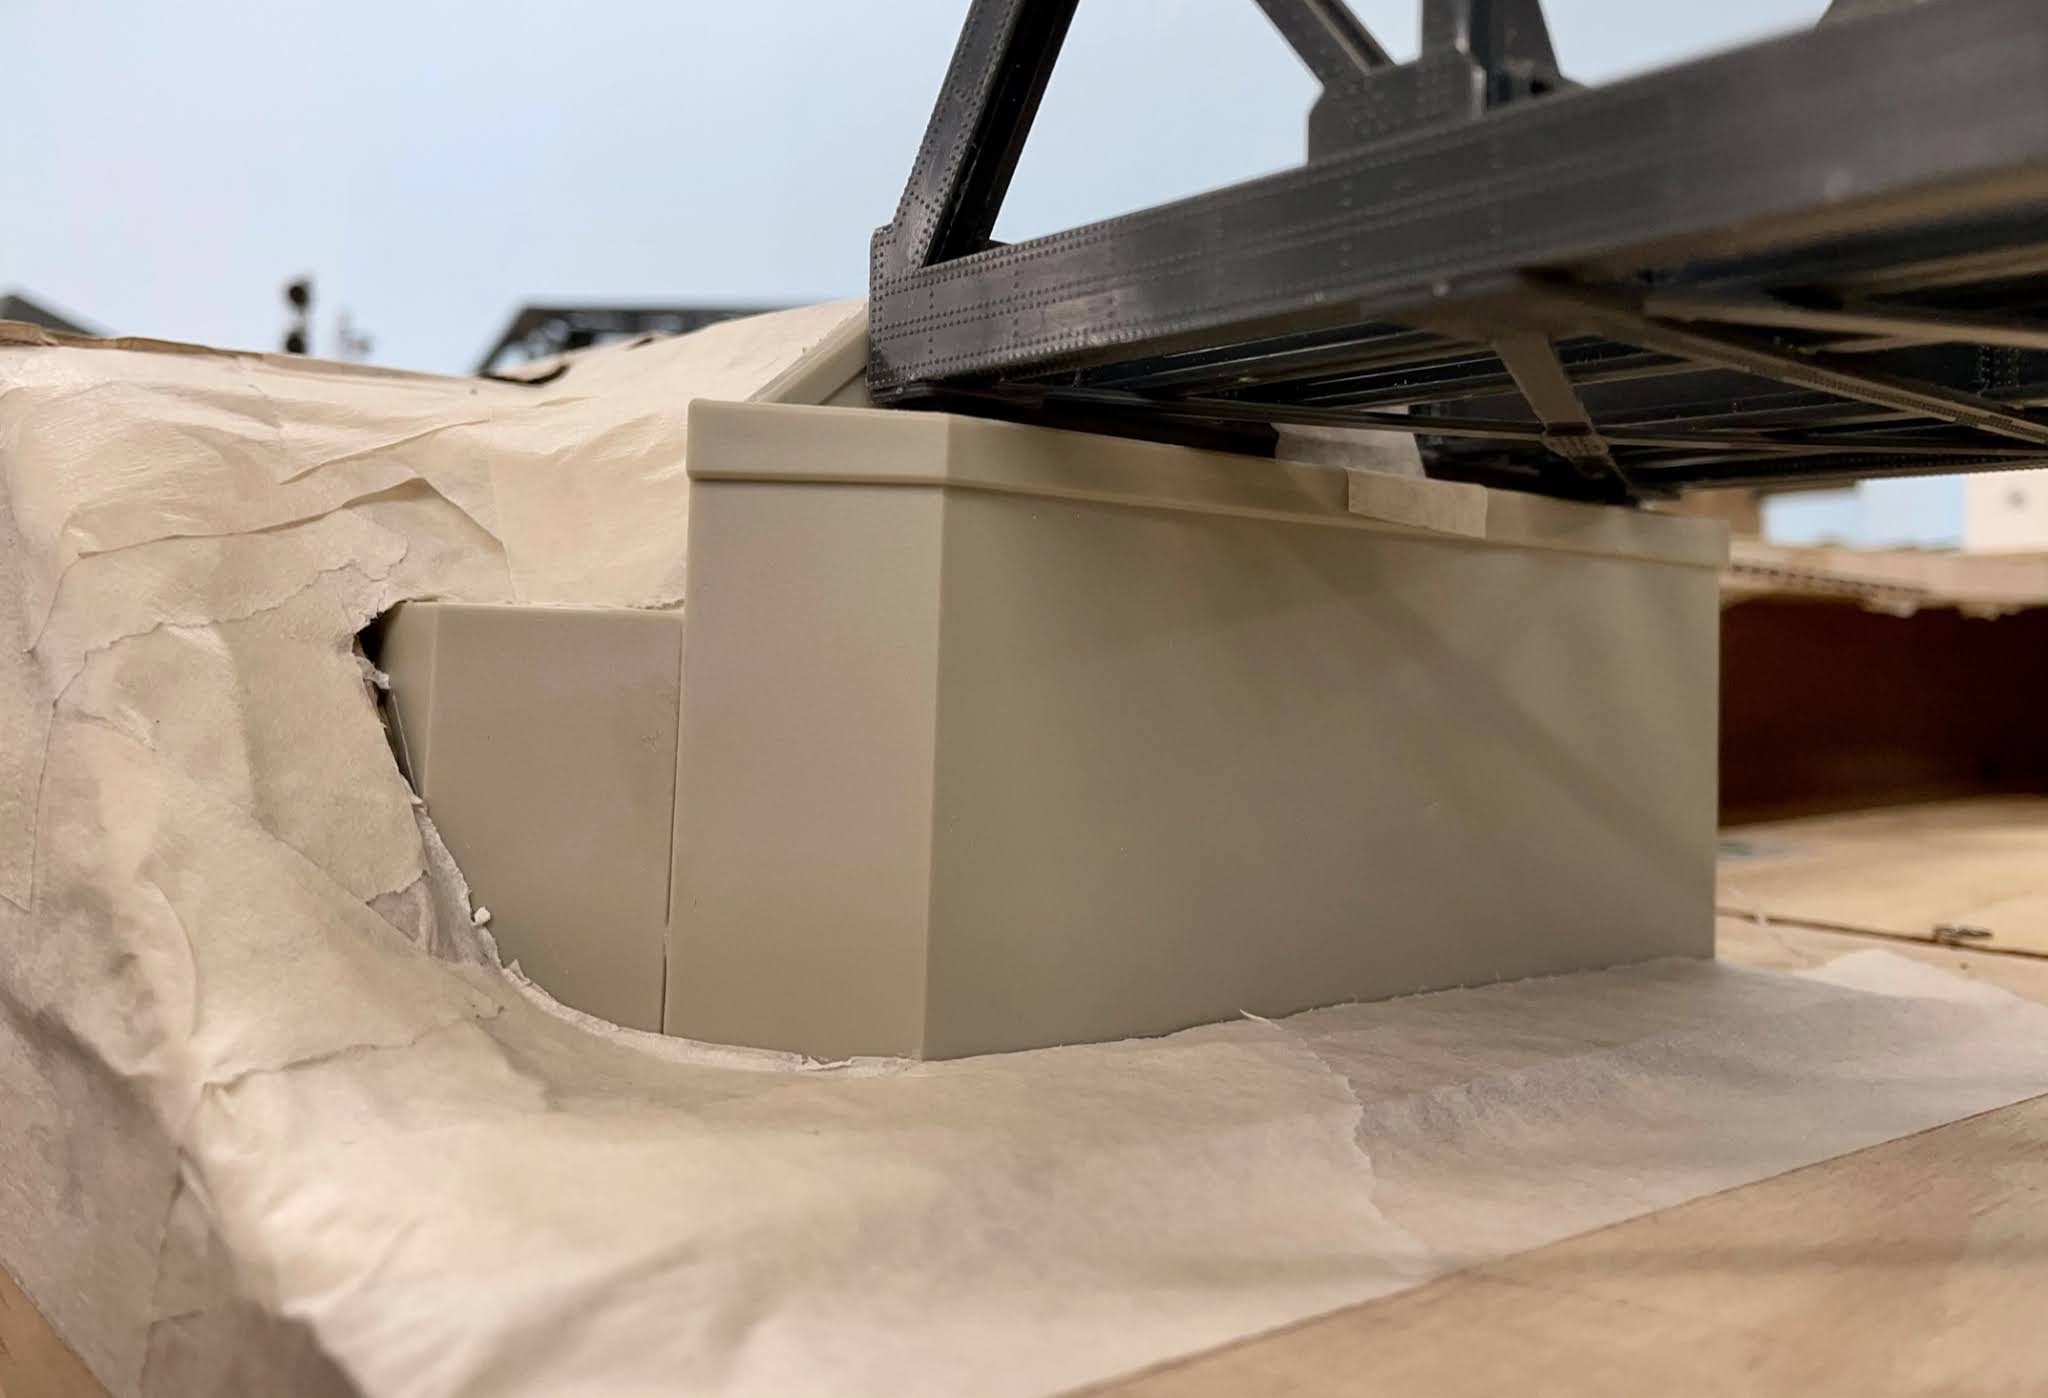
Masking Tape Skin installed & painted...

Masking tape painted with latex dirt colour, remaining rock ledges glued in.

Next step ready for Ground Goop, this is a really quick and easy way to get rid of the Plywood Pacific look.

The bridge abutments will be airbrushed in place, once the scenery is complete I’ll come in and weather them.

Jason...

Tuesday, 23 February 2021

Carlisle Junction Terrain, done in a day...

I’m always amazed when doing scenery how quickly the methods I adopted and use from Joe Fugate’s - Siskiyou Line, video series.  And just how quick it really is to install.

In about 6 hours today I’ve managed to form up the cardboard skeleton, apply the masking tape skin, install the real rock - faces, and tonight I’ll paint the masking tape with an earth colour latex paint.  This is one of the most satisfying parts of layout building, actually seeing terrain starting to form...

Tomorrow I’ll mix up another batch of Ground Goop and apply the base level of ground/terrain to the surface.


Jason...

Susquehanna River Bank...

North bank of Susquehanna River formed up, the cardboard strips & masking tape skin make quick work of forming up the rough shape & form of the terrain.

This took me about 30 minutes to complete to this stage.  Next step will be forming a little raised section to break up the area around the Interlocking Tower, then mixing up some Ground Goop and installing the base dirt layer...

Next step is to add some real rock details...

Monday, 22 February 2021

Bridge Abutments...

The double track bridge abutments arrived today, so I started building the terrain to meet the abutments, the north side of the Susquehanna River is first.

I’m using the cardboard strip, hot glued together, with the masking tape skin to make the transition, I’ll be adding ground goop as the base dirt layer.

Fair to say I’m back into the scenery zone again, the ideas are flowing, and I can visualise the scenes a lot easier now...


Dirt, and more dirt...

Adding more dirt today to Carlisle Junction, working from the backdrop to the fascia.

Waiting on some bridge abutments to arrive today so that I start forming up the Susquehanna River bank.  Once this is set I’ll then add some contour hills around the Interlocking Tower.


Sunday, 21 February 2021

Started adding the base dirt/zi[p texturing...

Starting to add the zip texturing to scenery base, this is the first stage.  It represents the base dirt layout, and everything else will be built/layered on top of this.

It’s a mixture of 1 part of the following powdered paint:

Black, Brown, Yellow & 24 Parts Plaster.  This is then applied to base and misted with water.

Thursday, 18 February 2021

Painting the Ground Colour...

Tonight’s mission, painting the ground with some earthy colours.  This time is just some old house latex paint, called Sandbank.

Doesn’t have to be anything special, just something to hide the starkness of off-white masking tape.

This seals the tape and direct layer above the timber sub-roadbed, will hopefully limit any stray Ballast Bond or other liquids used when fixing scenery, and if there happens to be small gaps of scenery showing, well it looks sort of an earth colour.  It also gives the scenery some tooth to adhere too.

Next stage will be to add any contours or raised areas of ground using strips of cardboard, again covered with masking tape, and finally ground goop (I explain if I use it)some final zip texturing and then static, grass, bushes, shrubs & trees.

Tuesday, 16 February 2021

The Big Scenery Push...

Today I started the beginning of installing the scenery for the major portion of the layout, it’s taken quite a awhile to get back into the zone, and it’s not as straight forward as just slapping down some gravel, dirt and a few trees.

For me, getting it to look like it should in real life is a constant factor, and I often spend the majority of time planning things like the Right Of Way (ROW), parking areas, grade crossings, drainage ditches, earth cuts, and a myriad of prototypical features, and how all those also react & blend in with structures.

The gravel roads, dirt, earth contours, tree placement really come together once you have the basics in place.

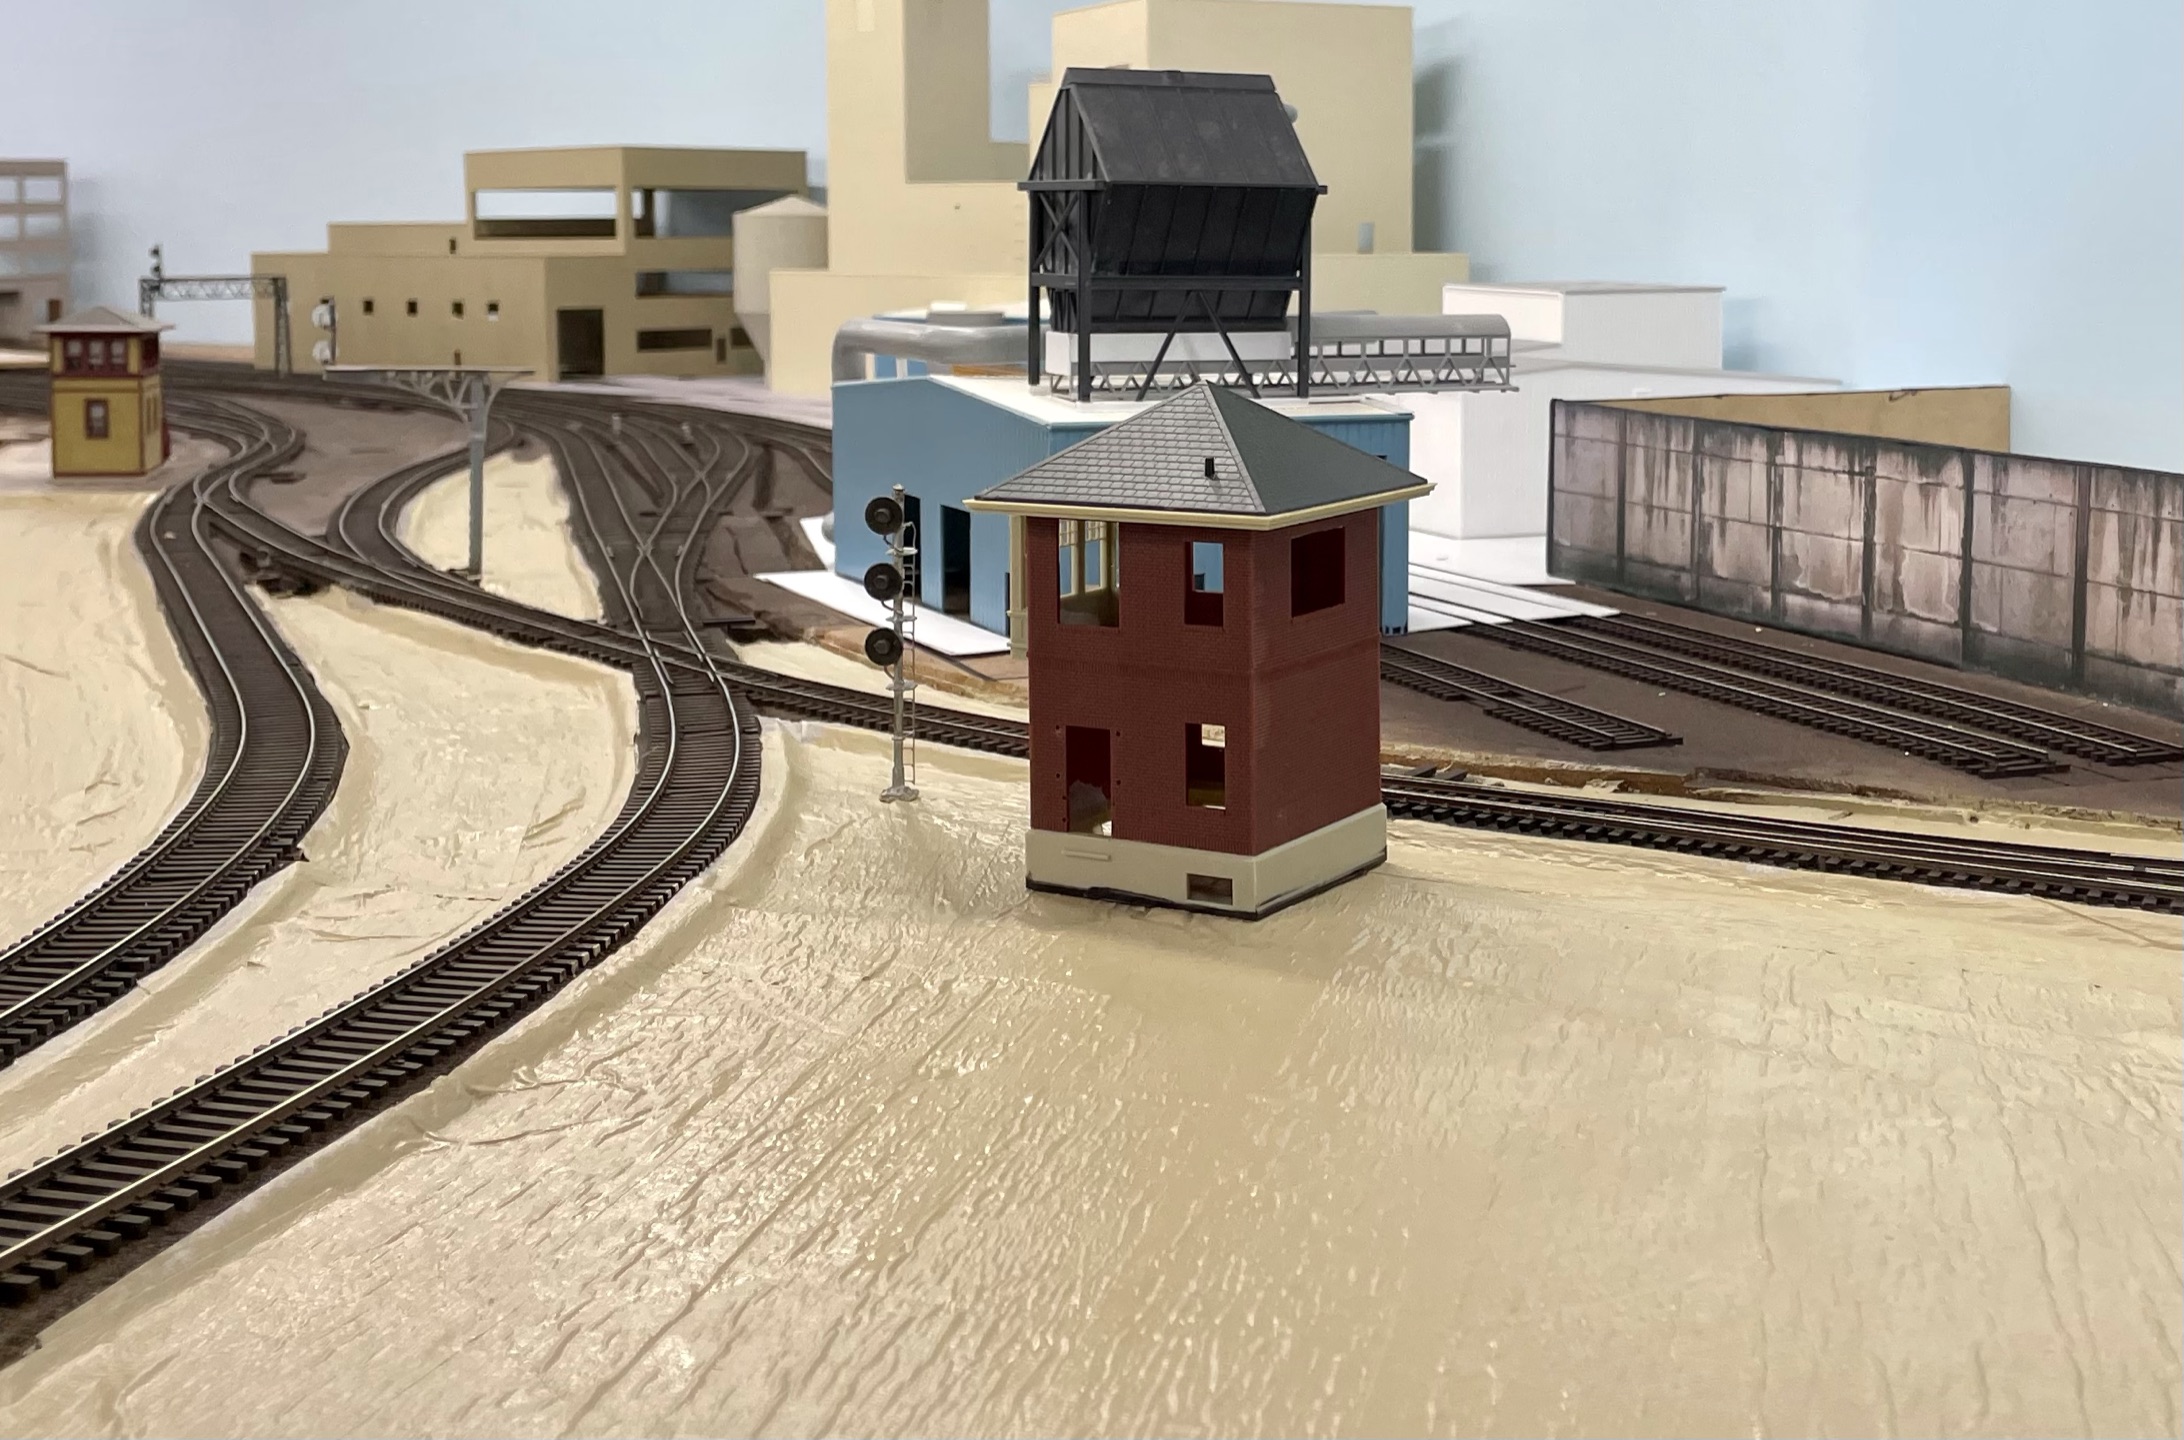
Another thing I also do is take a few photos from HO scale eye level view, and an overhead aerial view.  This can often give an idea of how a scene will look, and can often highlight issues that you normally wouldn’t view from just an operating perspective view.


This area at Carlisle Junction is a huge focal point for the layout, in fact it’s a signature scene for the entire layout.  It’s the first view of the main & largest section of the layout, it’s “the” major interchange between the operation portion and the “rest of the world” (staging) and also connects the locomotive facility & Rutherford Yard, and leads into the York Haven - Pulp & Paper Mill, the largest industry on the layout.

Some of the best layout scenery I’ve seen has the ability to draw your eye right into the scene, it’s not just something in the foreground, it has depth & detail all the way through from foreground to background.  And it has some really great scenes for photographing, another reason I’ll take photos to see what perspective a scene can offer.

The example below shows the interlocking tower at the Junction, the eye level shot shows what a operator will be looking at when watching for a train to exit staging via the helix/locomotive facility, and using the tower as a small view block.  Then when looking left (aerial shot) you can see the view heading into the Shippensburg Classification Yard.  This is what I try and achieve, something that will draw the eye in, and something that looks like it would occur, and/or be in the real world.

My layout isn’t prototypical exactly, not by a long shot, it loosely follows the areas & era of the Reading & surrounding railroads that interchanged with it, but everything else, like the scenery is purely my interpretation of what I think works for the early 70’s...

Monday, 15 February 2021

Paint Bottle Shelving...

Shelving arrived today for my paint storage rack, absolutely perfect for storing SMS Paint bottles, only one I couldn’t fit was the premium thinner, also got the majority of my Polly Scale bottles in too.


These were from Amazon from the USA, arrived within a week...

Saturday, 13 February 2021

DragonAir - Airbrush manifold project...

When you want to run dual DragonAir - airbrushes, you need a custom manifold.

Tonight’s project all completed, brass fittings, Iwata flow control valves with gauges.

I may even give this the SMS treatment to match the Iwata valves...

Wednesday, 10 February 2021

Western Maryland - GP35 - #3577...

And it’s done...

Just waiting on the decals, M5 horn, hood mounted bell, and some snow ploughs.


Tuesday, 9 February 2021

Western Maryland - GP35 - Project...

After not being able to source another HO Scale - Western Maryland - GP35 in their Circus scheme, I decided to have a go at making my own.

The donor shell is an Athearn - GP35 RTR, that was painted for Conrail.

I stripped the paint back to the bare Athearn - light grey undecorated shell with 100% Isopropyl Alcohol with a nylon brush attachment using a Dremel tool with a flexible extension shaft.

I then sprayed the shell with SMS - White Surfacer and sanded any imperfections that showed up.


Then two coats of SMS - Gloss White as the base colour.

After this had dried for 12 hours I masked the transition line between the red & white.  I then back sprayed the masking line to prevent bleeding of the red.


Then it was another two coats of SMS - Gloss - Signal Red to finish.


This was my first attempt at doing a locomotive, with masking, and I’m pretty happy with the result.  The SMS paint is just a dream to work with, I just have to keep practicing and sharpen my airbrushing skills...

Next steps, black rooftops on the long hood & short hood nose.  Then decals...

Monday, 8 February 2021

Paint Booth Storage additions...

Today I added some storage bins to the paint booth area, everything now has a place, and it's all within reach as I work.

I've ordered some acrylic shelves via Amazon for the paint bottles to go on too...


Jas...

Sunday, 7 February 2021

Undecorated locomotive conversions...

Did another undecorated shell tonight, this one cleaned up much better than the last, and the SMS - White Surfacer went on much nicer too.

This was shot with the black DragonAir - Airbrush with 0.5mm needle installed, much better coverage & smooth even finish @15psi.


Have some fine sanding to do in a couple of spots, and then one more coat of Surfacer before applying the SMS White - Gloss coat before masking for the SMS - Insignia Red.

This route of undecorated models looks like becoming quite a viable option to get the models & railroads that manufacturers wont do anymore, that I want to finish off my WM roster, its also quite addictive.

Jas...

Thursday, 4 February 2021

Getting to know the DragonAir - Airbrush...

Today’s project, getting to know the new DragonAir - Airbrush & SMS Paints - Surfacer Grey, and preparing an undecorated shell for custom painting.

This is an Athearn GP35 - RTR shell that was stripped using 100% Isopropyl Alcohol, I used a nylon brush head with the Dremel Tool on about the second speed step.

The SMS Surfacer is amazing stuff, like all their paints they are “airbrush ready” straight from the bottle.  I had some fine sanding marks in the cab roof, and the Surfacer hid them perfectly.

Also the DragonAir is such a brilliant airbrush too, congrats must go to Scott Taylor from SMS for producing such a kick arse combination...

Next step is prep the shell for the Western Maryland - Circus Scheme (Red & White) spray out...

Tuesday, 2 February 2021

Renumbering a RDG - GP30...

Today’s project, remembering a Proto 2000 - RDG GP30 to #3605. The bottom sill has been painted, and the #5504 numbering scheme as delivered has been removed.


Microscale for the long hood numbering, Reading details, & EMD data plates.  And Highball Graphics for the number boards.


I'll be adding the rain gutters tomorrow, and finishing off the data & EMD decals.

Monday, 1 February 2021

Dual purpose Shelving...

Dual purpose shelf building today.  I needed some extra lighting above and around the spray booth, and I need to add an extension to the Rutherford Yard - Tail track work.

So today I built the shelf that services both needs.  The track work will be completed once I cut the access through the wall, and lay down the drywall/plaster sub-roadbed & cork sheet.  This will allow a cut of cars up to six cars in length to be pulled beyond the last of the yard ladder turnouts.

I’ve also allowed room for some caboose storage & maybe even a turntable as well... 

Jas...

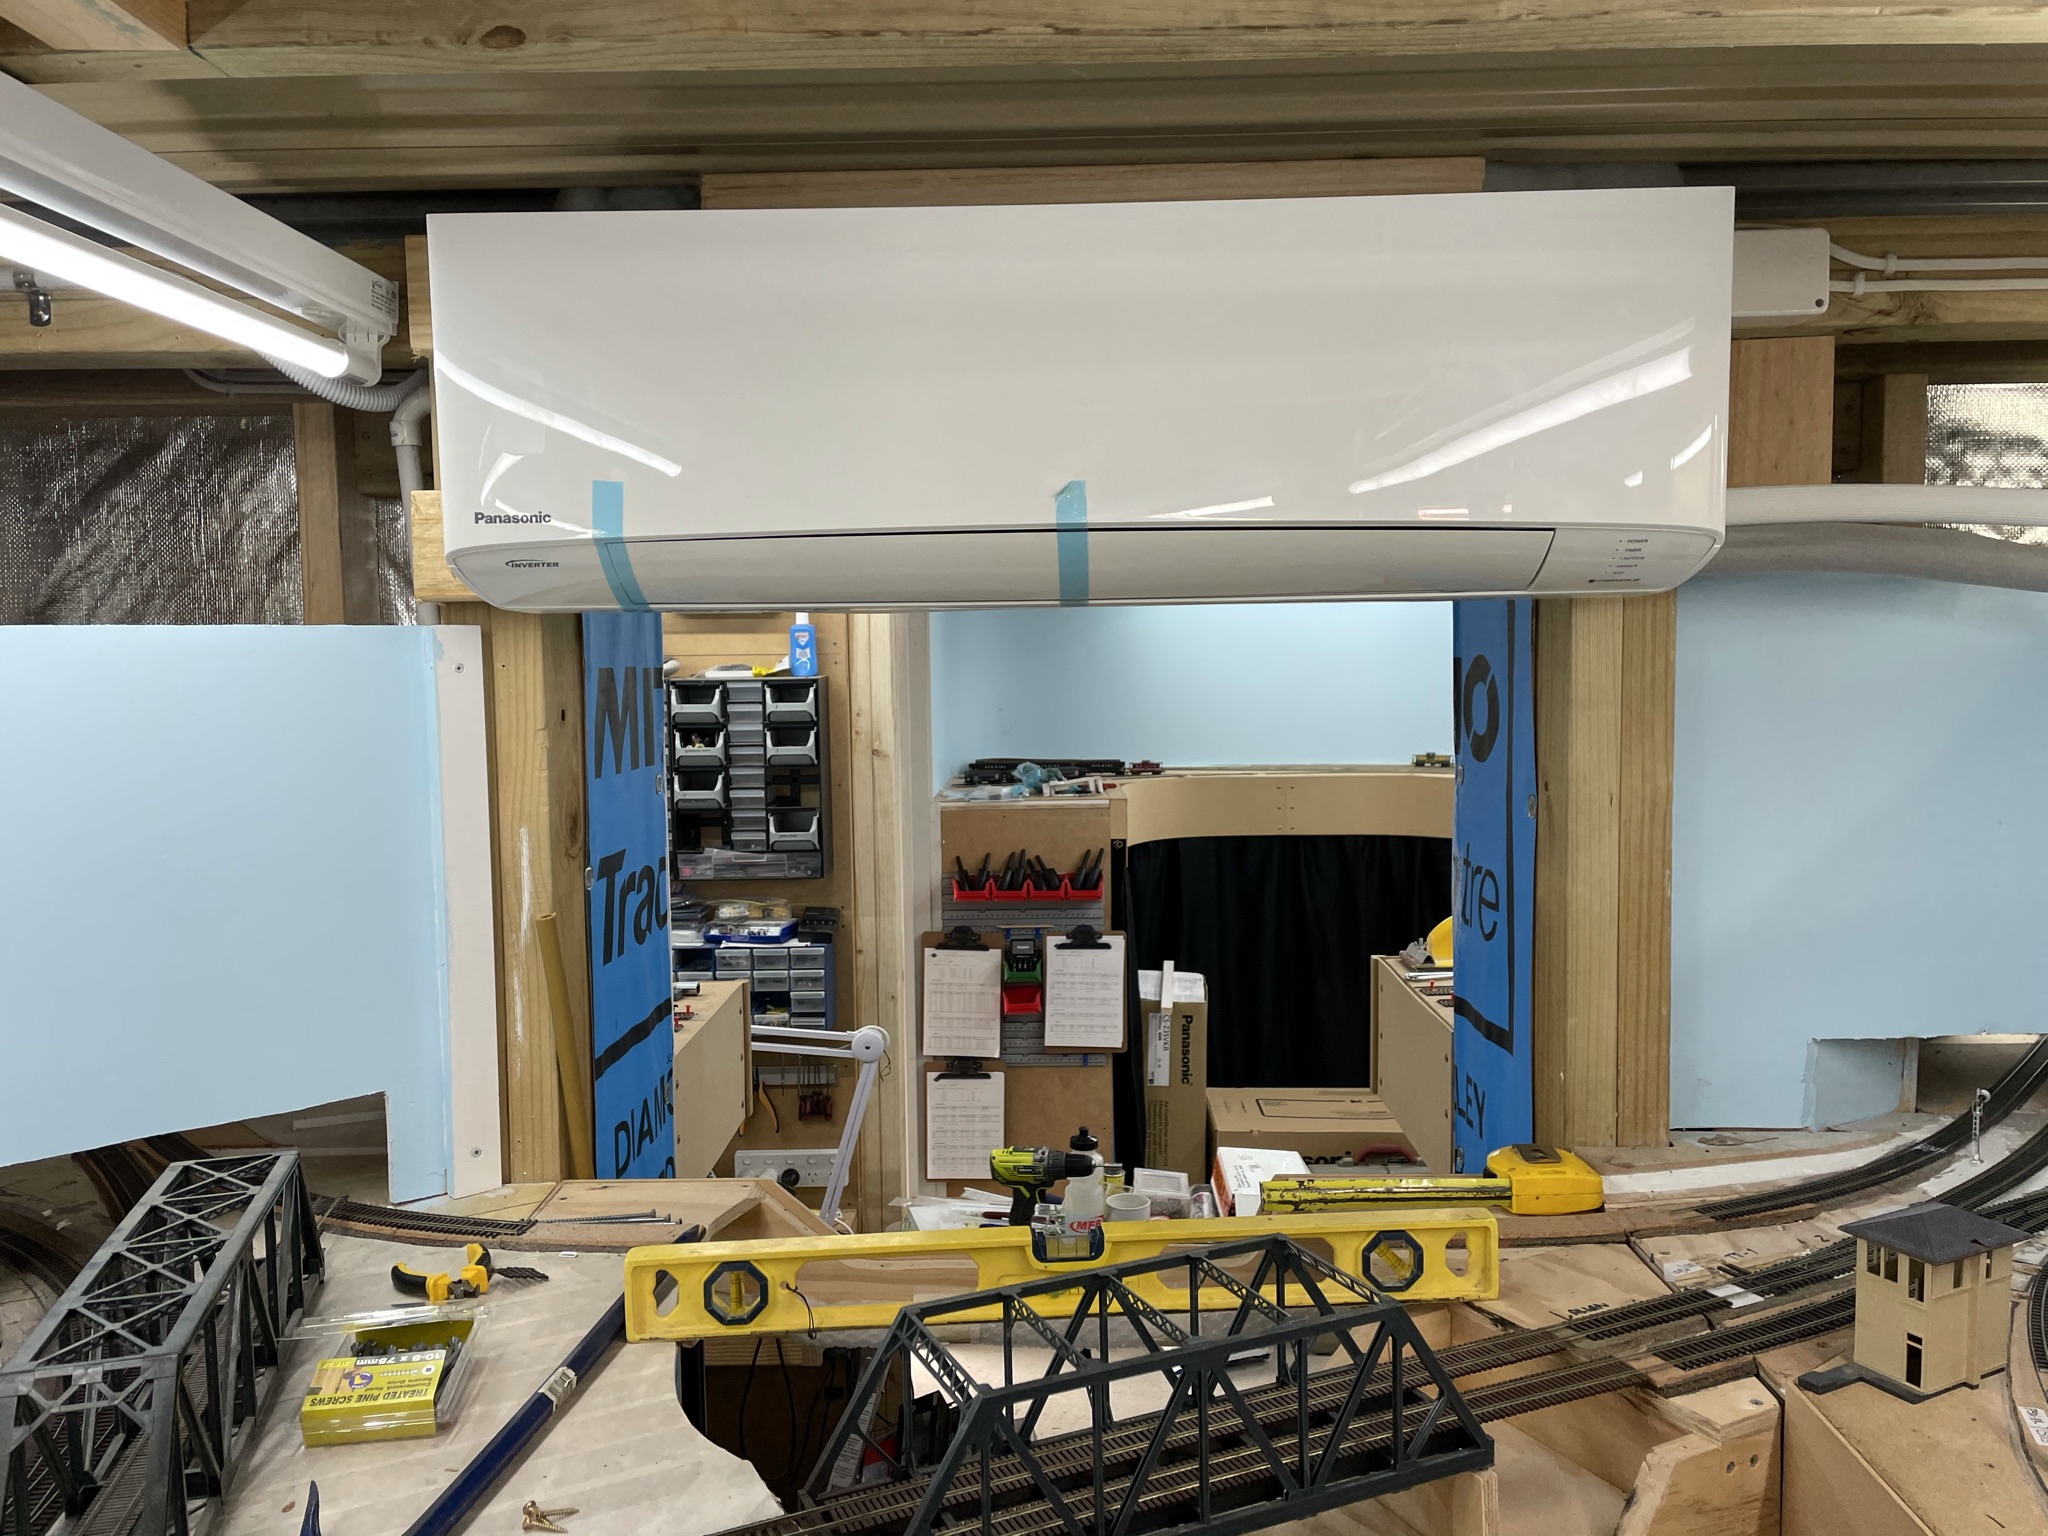
Layout finally gets Climate Controlled - Heating & Cooling...

Major milestone for the layout this week, climate control after 8 years of a oil radiator & pedestal fan...

Reverse Cycle - Heating & Cooling...


Jas...

Friday, 29 January 2021

Dialling in the new Airbrush & SMS Paints...

Today’s project was airbrushing the yellow bottom sill of this Proto 2000 RDG-GP30.  I've started using SMS (Scale Modellers Supply) Paints.  These are amazingly easy to use, they are airbrush ready straight out of the bottle.

They produce a perfect finish using their Dragonair - Airbrushes too.

This was numbered in the as new delivered 5500 series, and will now be painted & decals added to represent a GP30 in the 3600 series.

I also striped an Athearn - GP35 shell that will be painted up for the Western Maryland - Circus scheme.  I used 100% Isopropyl Alcohol and a nylon Dremel brush head.


Jas...