So over the last two days I have been doing some work to the staging entrance area on the L&T Branch. I want to finish this area completely before moving onto the Paper Mill as I know this will consume a huge amount of time once I get going on it.
So one of the last things to do on the L&T Branch was to figure out how to hide the entrance in the backdrop to the staging area, from the centre peninsula. I decided to go with a series of storage tanks (can spot tank cars in this industry now) and a cement distribution plant.
It has worked quite well as the hole is visually blocked from all angle.
I wanted to install another small industry in this section just to fill up the space as it needed something to break up the backdrop. I decided to throw in the Walthers - Medusa Cement kit to see how it would fit, and well it's staying. Has a nice size for the area, fits well, and offers even more switching for the end of the L&T Branch.
The remaining structures are not rail served but form part of the area. The interlocking tower will be located at the end of a service road that feed the industrial area and will still be very much active for the series of turnouts that feed into the staging yard and back out onto the centre peninsula and north side of the layout.
Behind the cement plant is a manufacturing warehouse that serves as a background building for the backdrop, it will have a loading door at the rear that will load trucks. In all the scene has worked out quite well and should help finish off the end of the L&T Branch.
Once this area is finished it will be time to ballast the staging yard, install the dwarf signals on the turnouts for the staging yard (these will be operating off the tortoise motors for now), finish off the fascia, paint the fascia & upper valance, then drywall/plaster the lower under deck walls, finish off some more bench space for the workbench area, then finally onto the painting of the walls and installing the carpet...... Then finished and ready for operating sessions!
More soon,
Jas...
Wednesday, 30 April 2014
Wednesday, 16 April 2014
Paper Mill Progress from today...
Well today I decided to flip the orientation of the buildings and try a different approach, the reason behind this was I wasn't really keen on adding another building to the existing Paper Mill building to service the loading of empty boxcars with finished product.
I'm happy with this configuration now, the only trade off was that I have lost the ability to pull through the pulpwood flats as they are unloaded. They are now unloaded via two stub ended sidings, (which will be extended too) to counter this I have added my Mi-Jack Container crane that will be fitted out with opening hooks (like the log unloader kit) to unload more flats.
Overview shot looking towards the east of the complex...
I've also removed the two extra turnouts that didn't really do anything (again I don't know hwy I did it in the first place?) The sidings will be used for storage of empty or full boxcars, and empty or full pulpwood flats. This will make for some really intense switching at times, which is what I wanted seeing the layout has gone more towards a switching layout since the decision to not build any other decks apart from staging.
I also had the chance to add another couple of turnouts to service the sidings associated with the unloading/loading of chemicals and by-products from the milling process.
The first track (after the Paper Mill) will service unloading of chemicals for Kraft Mill, Bleaching Plant, and other various chemical processes throughout the plant. The next track along will be for unloading of more chemicals for the Recovery/Boiler House and also for the loading of chemical by-products from the mill process like Kaolin.
Next step will be to finish off the remaining track work that has been altered, install the turnout and siding that services the paper mill loading track. Then it will be onto kitbashing the three or four other kits that will be required to add to the major structures in the mill.
If I get time and the people to visit, I'll also run a few test ops sessions to see how the switching will run on the mill and test out the track work.
More soon...
Jas.
Friday, 11 April 2014
Paper Mill Complex...
Hi All,
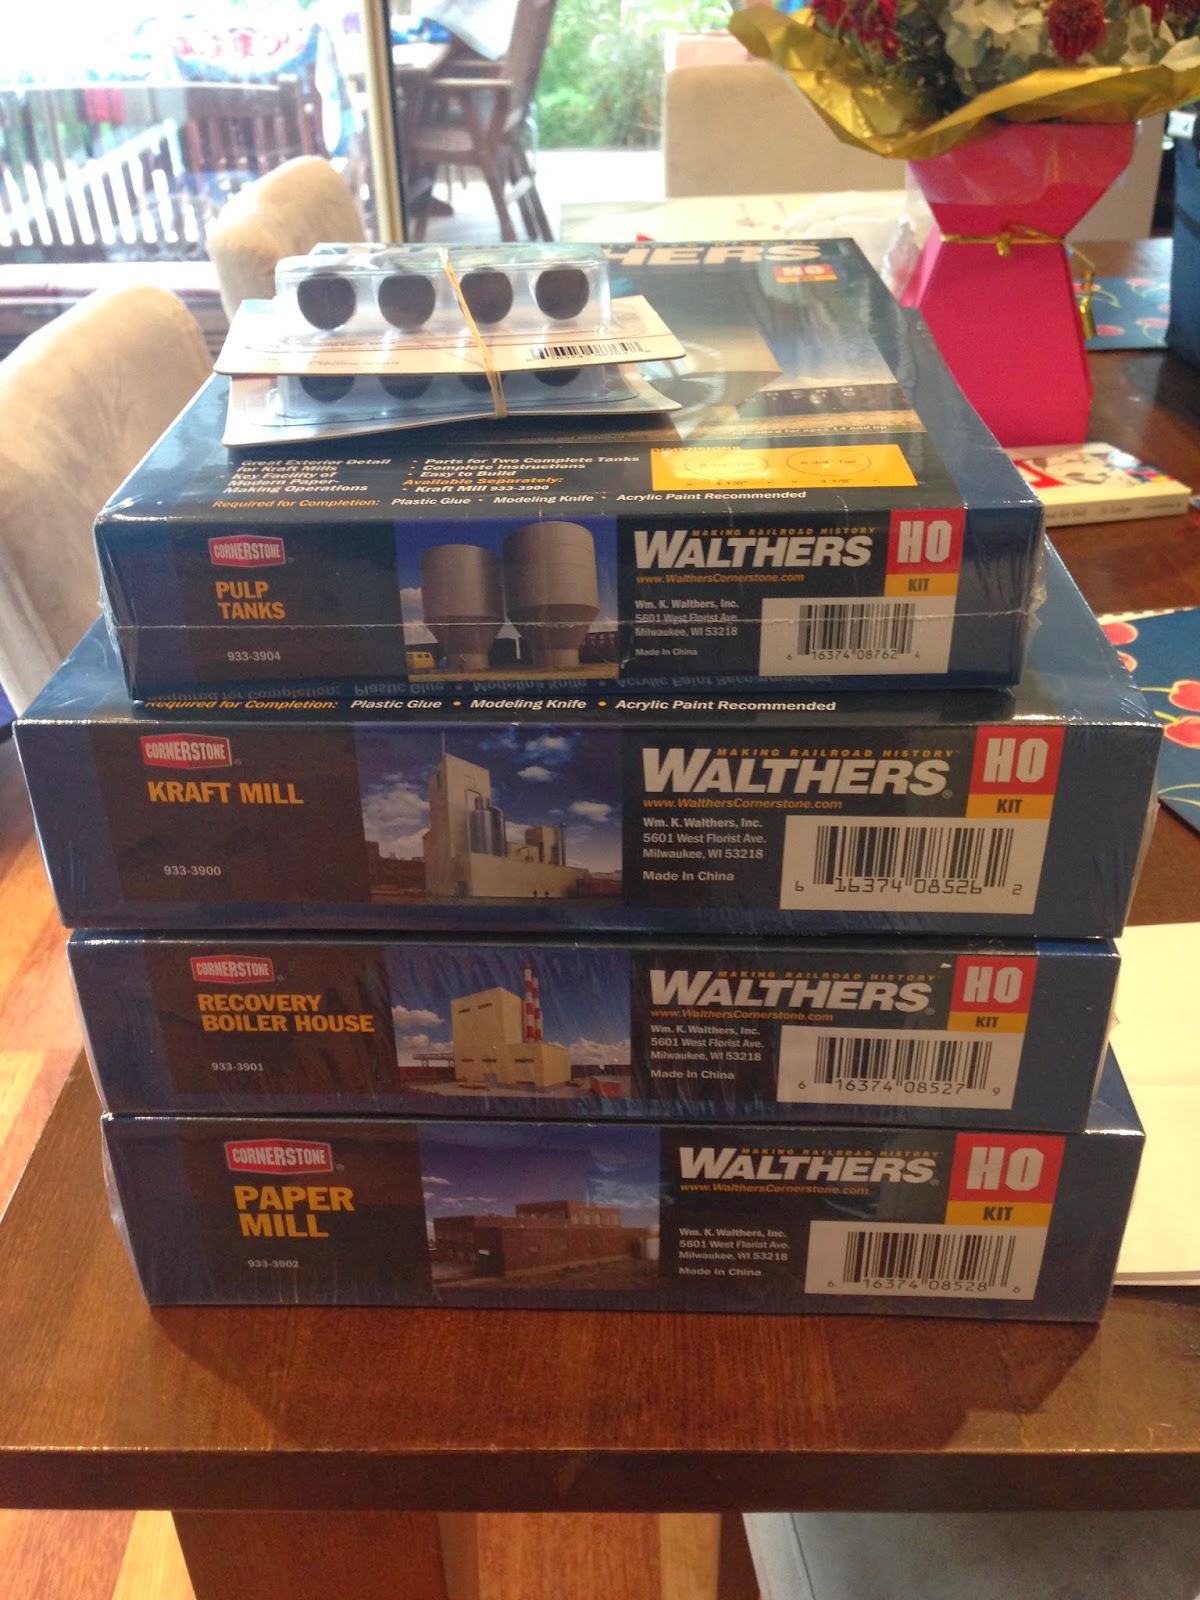
Well this week all the structure kits arrived from MB Klein in the USA.
This marks the official beginning of the build, this is a mammoth task and will take up some considerable time to build and complete. There is going to be some serious detail added to this along with a lot of scratch building & kit bashing.
Tonight I actually completed the last of the building shells (I've been building them over the last couple of nights) and they are now on the layout. I'll be test fitting the structures and seeing how it all flows over the weekend.
The overall placement seems to be working well, I just have to check the processes and ensure that the structures flow and mimic the real thing. There will be a few more smaller buildings/sheds added, a lot more details, storage tanks, piping and associated equipment to the entire complex...
More soon...
Jas.
Well this week all the structure kits arrived from MB Klein in the USA.
This marks the official beginning of the build, this is a mammoth task and will take up some considerable time to build and complete. There is going to be some serious detail added to this along with a lot of scratch building & kit bashing.
Tonight I actually completed the last of the building shells (I've been building them over the last couple of nights) and they are now on the layout. I'll be test fitting the structures and seeing how it all flows over the weekend.
The track work above is actually the original Intermodal Terminal track, it should only require a few minor changes. The Paper Mill kit will require the addition of a loading dock to the left of the structure (as can be seen its on the opposite side now) and this will be scratch built or kit bashed from another kit or Evergreen styrene.
The overall placement seems to be working well, I just have to check the processes and ensure that the structures flow and mimic the real thing. There will be a few more smaller buildings/sheds added, a lot more details, storage tanks, piping and associated equipment to the entire complex...
More soon...
Jas.
Monday, 7 April 2014
Track Maintenance on the L&T Branch...
Today some maintenance was needed on a switch machine & relay box. Luckily the works didn't upset the local traffic on the L&T branch...
Cheers,
Jas...
Paper Mill Complex...
Well I have officially started the new Paper Mill Complex, after a quite a few design changes bouncing of ideas between fellow modellers, and some long hours on AnyRail I've come up with the following design.
The design almost follows the original north side of the layout and the old Intermodal Terminal. This has been quite a good little win as I don't have to change any bench work, can leave most of the existing track in place and only have to add a few turnouts and track here and there.
I've ordered the main building kits from MB Klein in the USA and they are on the way to me now, once here it will be a matter of placing the base plates down to check the final positioning of the building within the complex.
Paper Mill building...
I
The design almost follows the original north side of the layout and the old Intermodal Terminal. This has been quite a good little win as I don't have to change any bench work, can leave most of the existing track in place and only have to add a few turnouts and track here and there.
I've ordered the main building kits from MB Klein in the USA and they are on the way to me now, once here it will be a matter of placing the base plates down to check the final positioning of the building within the complex.
Paper Mill building...
I

Kraft Mill building...
Recovery Boiler House & Pulp Tanks...
I have already made a start by using cardboard cut outs of the dimensions of the buildings.
More to follow shortly...
Jas.
Friday, 4 April 2014
Finishing up the fascia edges...
Over the last week I have been finishing up the fascia edges and completing the ground dirt. This has been a process of filling in the gaps with old newspaper and then filling this with ground goo, this is a mixture of Portland Cement, Plaster of Paris & Fine Vermiculite.
This substance when mixed with water sets up like concrete (thanks to the Portland Cement) and is great for forming the ground. You have about 15 - 20 minutes to work the mixture into its rough form, then you just have to spray it with water to smooth out the top surface to the required terrain.
After this has completely dried (usually a day or two) its time to add the zip texturing which is the final dirt like layer. This is just a mixture of Plaster of Paris (finely sieved) and tempera powdered paint to the required dirt colour.
Again a light spray of water on the dried ground goop, and then using a fine sieve you cover (lightly) the ground goop with the zip texturing, then another light spray of water to set up the layers.
I've also added the Tortoise Switch Machines to the staging area entrance so that I can finish off the fascia's in the L&T area.
Cheers,
Jas...
This substance when mixed with water sets up like concrete (thanks to the Portland Cement) and is great for forming the ground. You have about 15 - 20 minutes to work the mixture into its rough form, then you just have to spray it with water to smooth out the top surface to the required terrain.
After this has completely dried (usually a day or two) its time to add the zip texturing which is the final dirt like layer. This is just a mixture of Plaster of Paris (finely sieved) and tempera powdered paint to the required dirt colour.
Again a light spray of water on the dried ground goop, and then using a fine sieve you cover (lightly) the ground goop with the zip texturing, then another light spray of water to set up the layers.
I also added some more static grass to some of the completed fascia areas, added some more bushes, and also finished off the raised ground area on the JL&T module.
I've also added the Tortoise Switch Machines to the staging area entrance so that I can finish off the fascia's in the L&T area.
Jas...
Friday, 28 March 2014
First attempt at weathering a locomotive...
My very first attempt at weathering a locomotive. Man this took some serious time to master... This RDG GP30 started out as a Proto 2000 and was my very first locomotive that I bought and what started me on the path to modelling the Reading Lines.
In the end it took about six attempts to get it right, fortunately when you Dullcote first and make a mistake you can get back to painted shell with a stiff brush and water!
So in the end the shell has been Dullcoted first, then grimy black to the roof around the exhaust outlet and fans, I sprayed a very fine mist of grimy black over the entire shell, then thinned this out with white spirt. Then another coat of Dullcote, followed by a dusting of Dark Rust AIM powder, then another coat of Dullcote, followed by the Burnt Umber oil paint to weather, and lastly the final layer of Dullcote.
The trucks were sprayed with grimy black PS paint, then had Dark Rust AIM weathering powder added to the entire truck, followed by black AIM weathering powder to add the highlights.
Last thing to do is add the railings back after they are weathered.
Jas...
In the end it took about six attempts to get it right, fortunately when you Dullcote first and make a mistake you can get back to painted shell with a stiff brush and water!
So in the end the shell has been Dullcoted first, then grimy black to the roof around the exhaust outlet and fans, I sprayed a very fine mist of grimy black over the entire shell, then thinned this out with white spirt. Then another coat of Dullcote, followed by a dusting of Dark Rust AIM powder, then another coat of Dullcote, followed by the Burnt Umber oil paint to weather, and lastly the final layer of Dullcote.
The trucks were sprayed with grimy black PS paint, then had Dark Rust AIM weathering powder added to the entire truck, followed by black AIM weathering powder to add the highlights.
Last thing to do is add the railings back after they are weathered.
Jas...
Thursday, 27 March 2014
Revisit of an old scene, finished...
Thought I would post this YouTube video of the JL&T Module scene with the Flashing Walthers - Grade Crossing with Bell Sound Module.
This scene is now completed, with the fascia & upper valance installed too.
And this is the wiring diagram to go along with it...
Cheers,
Jas...
Monday, 24 March 2014
Upper Valance finished in the L&T area...
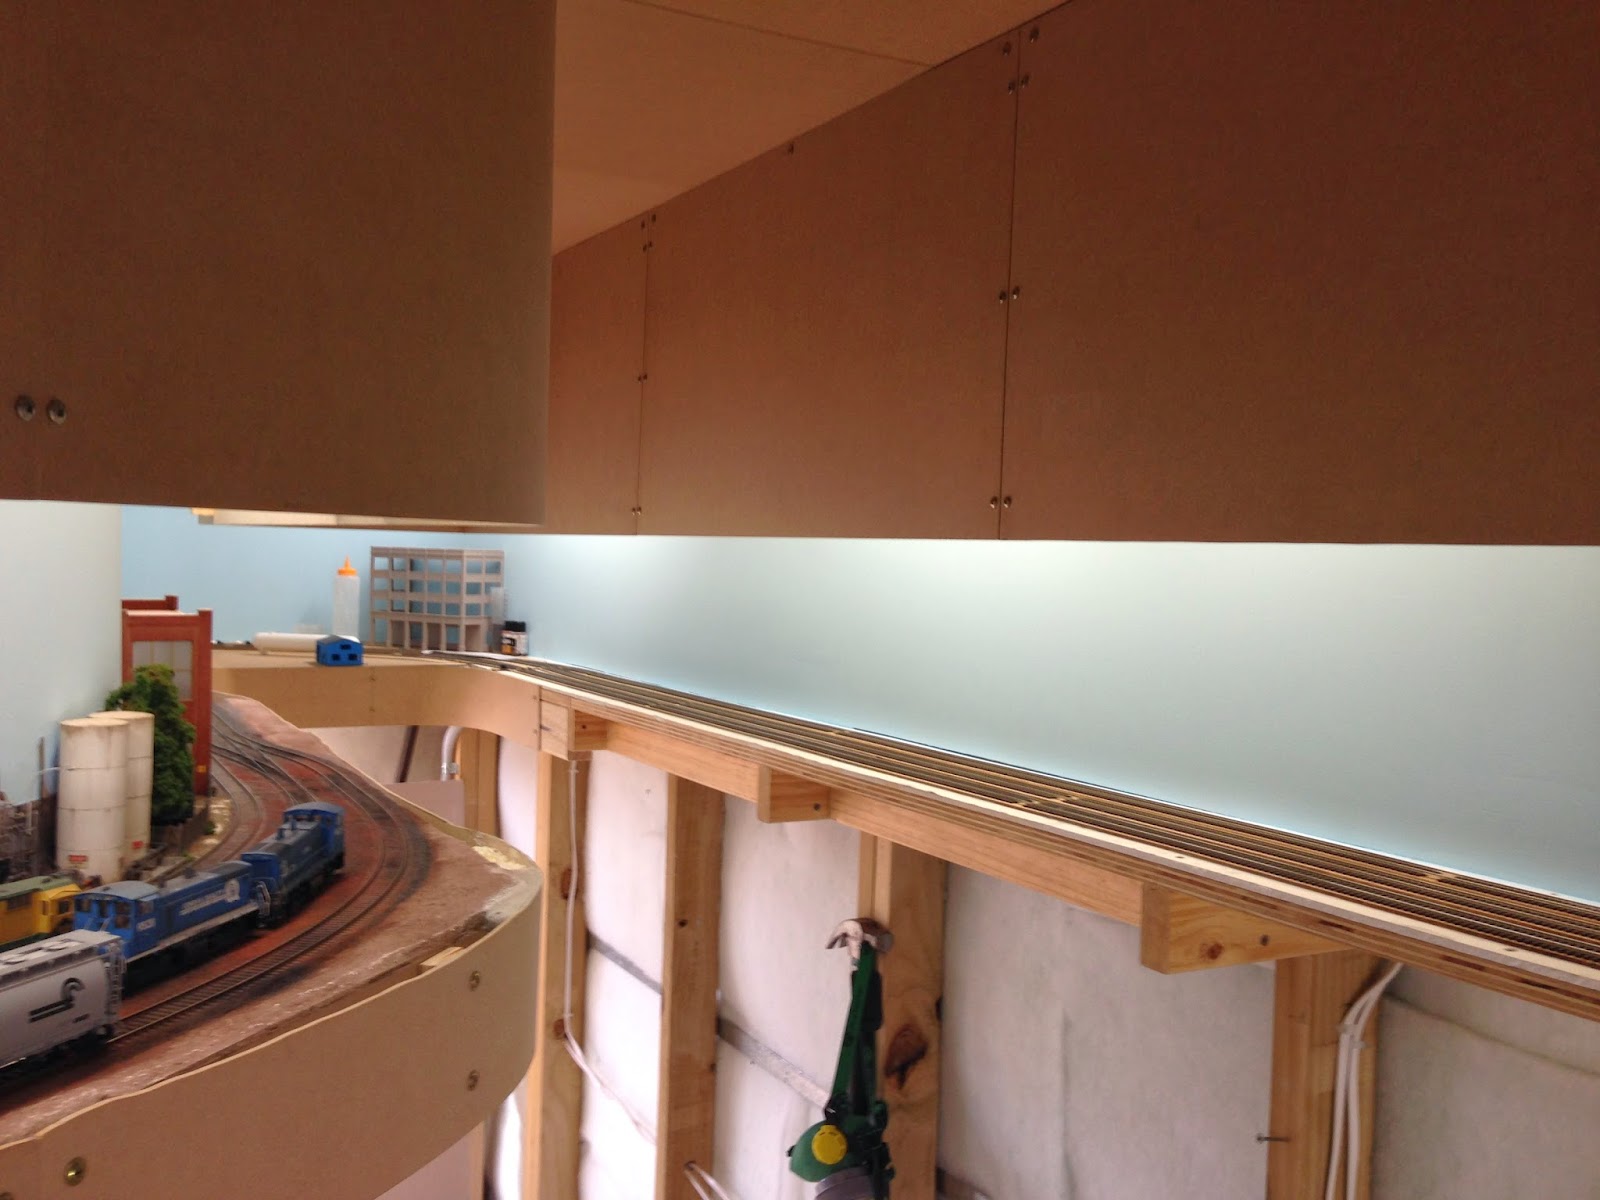
Well today I managed to install the remaining upper valance in the L&T Branch area. All that was left was to install a couple of metres along the staging section, add the rear bracing and install another fluorescent light.
All that remains now is to install the remaining fascia along the staging section, then time to paint...
Here are some photos of the finished valance.
All that remains now is to install the remaining fascia along the staging section, then time to paint...
Here are some photos of the finished valance.
Cheers,
Jas...
Saturday, 22 March 2014
Another scenery addition to hide drywall/plaster edges...
Last night as part of my nighttime projects and working towards finishing off the L&T Branch area I started to install the highway overpass on the staging area near the JL&T Module.
This will serve as a view block for the drywall edge on the opening from the staging area that leads into the western section of the JL&T layout. This solution works perfectly here as it hide the edge of the drywall and fits the scene perfectly.
All that is left is to fit the other end and tie it into the backdrop, secure it all down do the ballast work under the bridge, install a small scene under the backdrop (within the hole in the backdrop wall) and weather it.
Great little 2 hour project to finish off a great layout day...
Cheers,
Jas...
More progress on the L&T Branch - Fascia & Valance...
Well yesterday being a child free day (in kinder & school) I managed to get the remaining fascia & upper valance in on the scenic side of the L&T Branch finished.
Still have some issues with sorting out the perfect location for the lighting, some section are getting shadows cast from valance bracing which I'll fix before painting begins. I also have to fill in the gaps around the curves in the fascia and with the already installed scenery, this will be done with paper and ground goop mix, finished off with zip texturing and then static grass & shrubs.
The last little section to be finished is the staging area (south side/right side of photo) this is the rest of the world for the layout, but will be used as a small three track yard by the operators in this area. Once the fascia & valance are installed in this area it will be onto fixing the drywall/plaster to lower areas, then new benches for the workshop area, and finally painting and carpet tiles.
One other problem that was tackled yesterday was the existing duck under, for awhile now it has been bugging me the way I originally designed it. It was directly underneath the liftout bridge (which had been struck a few times already) and you had to do a little turn under the end bench work, so yesterday I moved the duck under to the right which now means its clear of the liftout bridge and has no turns in it.
As a bonus I was able to fill in a curved corner that wasn't working to well with track work being to close to the edge, this has given me enough space to add a another small industry to be switched from the L&T and created a small storage or workspace area under the layout.
This improvement has made a huge difference to this area of the layout, and as a added bonus given me some more area for switching & storage. All in all a very productive and pleasing day on the layout.
More soon.
Jas...
Monday, 17 March 2014
Last L&T Structure Weathered...
This morning I finished off weathering the last structure on the L&T Branch, again a wash of Light Grey to start, followed by highlighting washes of more dark grey to get streaks where needed. Then followed up with detailing, grime, rust and water marks using oil paints.
Next stage is to add signs and ballast around the structure and we are just about finished the L&T Branch...
Cheers,
Jas...
Sunday, 16 March 2014
Double Up - Conrail Switcher Power...
CR MP15 #9625 leads CR SW1500 #9528 with a small local consist to the L&T Branch to spot into the industries...
Jas...
Subscribe to:
Posts (Atom)